
Swarmlord w/an attitude
Tyrant Guard w/Lashwhip
3 Hive Guard
2 Hive Guard
8 Ymgarl
16 Genestealers w/Toxin
8 Genestealers w/Toxin
10 termagant
1 Tervigon w/Cluster spines, Catalyst, Toxin, and Adrenal
19 Gargoyles w/Toxin & Adrenal
Tyrannofex w/Rupture Cannon, Cluster Spines, and poisonously bad breath
Surprisingly, there was relatively mild turnout (these things had been selling out in the past few months); we ended up with 11 players, and Reecius brought out his ringer Tyranid army to keep everyone playing.
3 Tyranid players
3 BA Players
2 Ork Players
2 DA Players
2 CSM Players
I was overjoyed at the lack of Space Wolves, as I still don"t have a good solution to Jaws.
We helped the TO get tables & terrain set up, and made sure most tables had decent amounts and included some LoS-blocking elements. Reecius rolled up Spearhead Seize Ground (5 objectives), rolled us up our opponents, and put us to work.
Round 1:
5 Objective Seize Ground, Spearhead
Dan"s Orks
Dan often plays down at Game Kastle, my home store. We"ve played each other before, though I don"t recall fighting him with my Hive Fleet previously. Dan"s got a lovely ork army, painted very well. His list, from memory:
Ghazkull
Big Mek w/KFF
3 Meganobs (diversified), in a Battlewagon w/Deffrolla, Big Shoota, and Grot Riggers
19 "Ard Boyz, including a Nob w/PK, who rode around in a Battlewagon w/Deffrolla and Big Shoota
30 Slugga Boyz, w/3 rokkis and a Nob w/PK
20 (or so) Shoota Boyz, w/2 Big Shootas and a Nob w/PK
Buggy w/Rokkits
Buggy w/Rokkits
9 Lootas
9 Lootas
3 Kans w/Kustom Megablastas
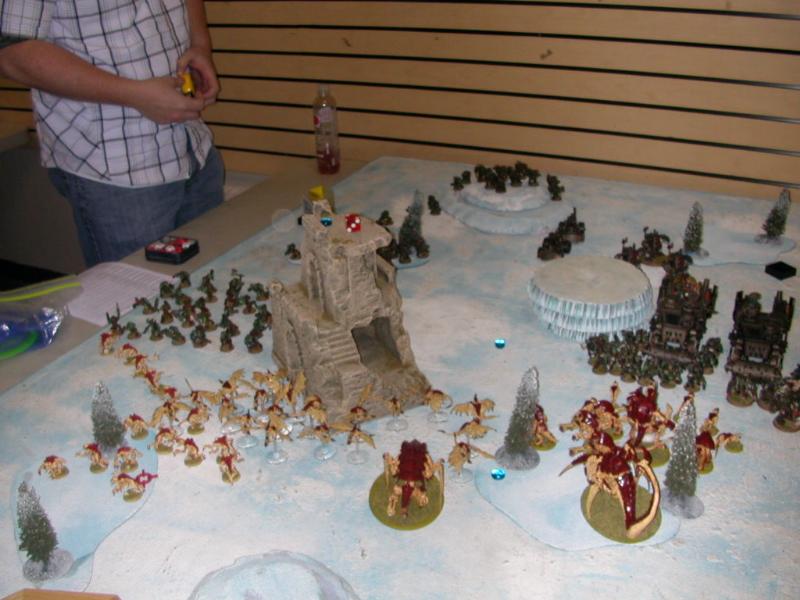
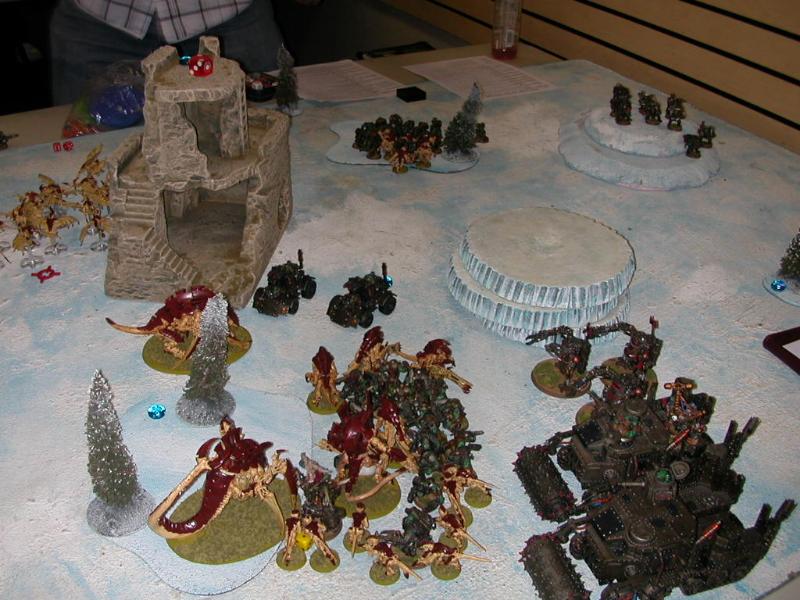
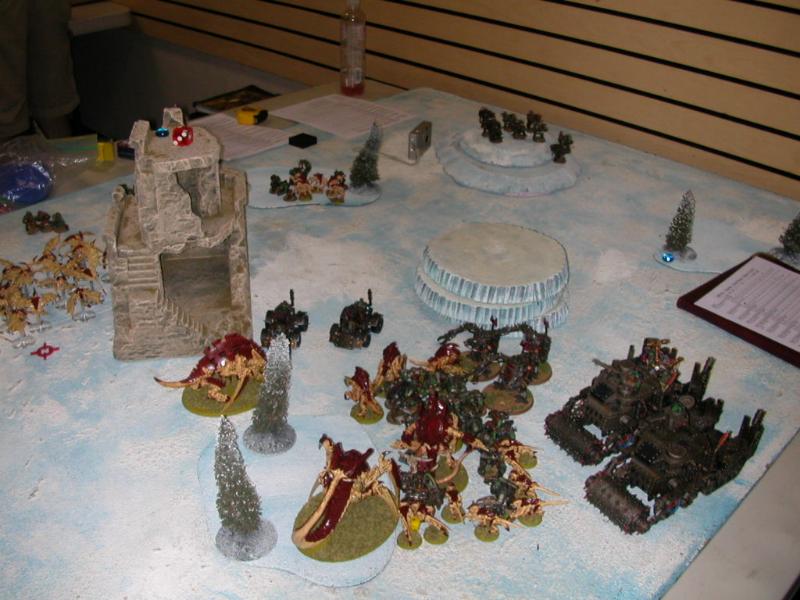
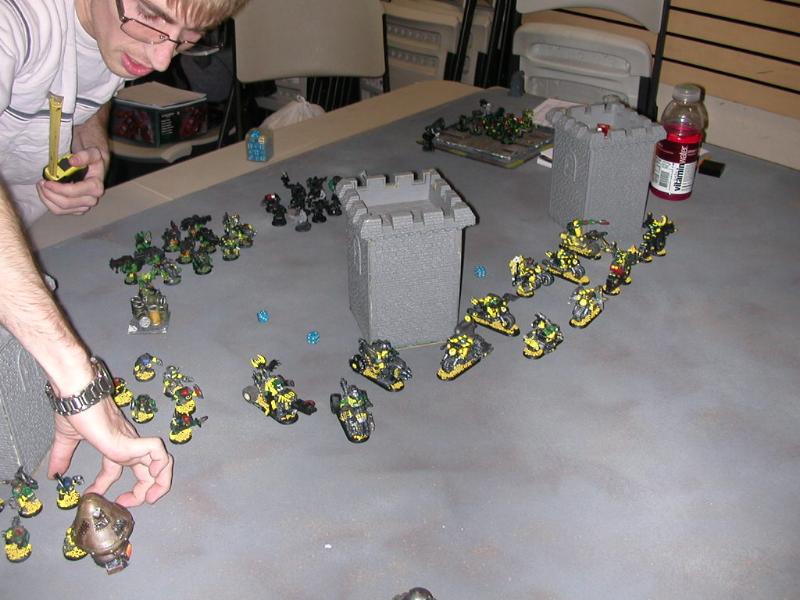
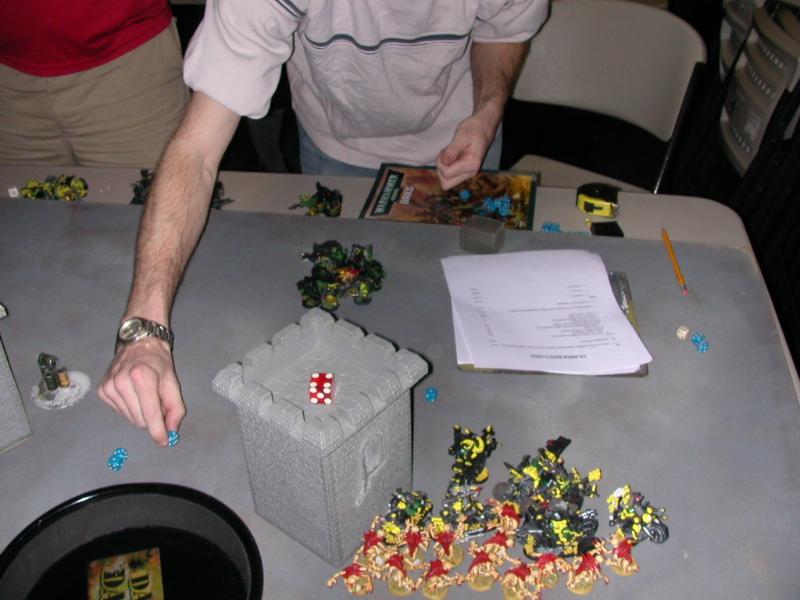
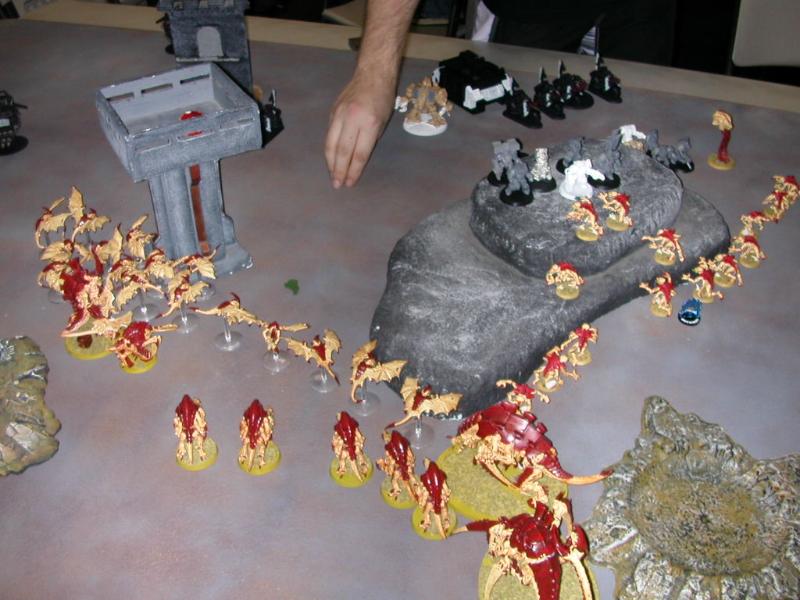
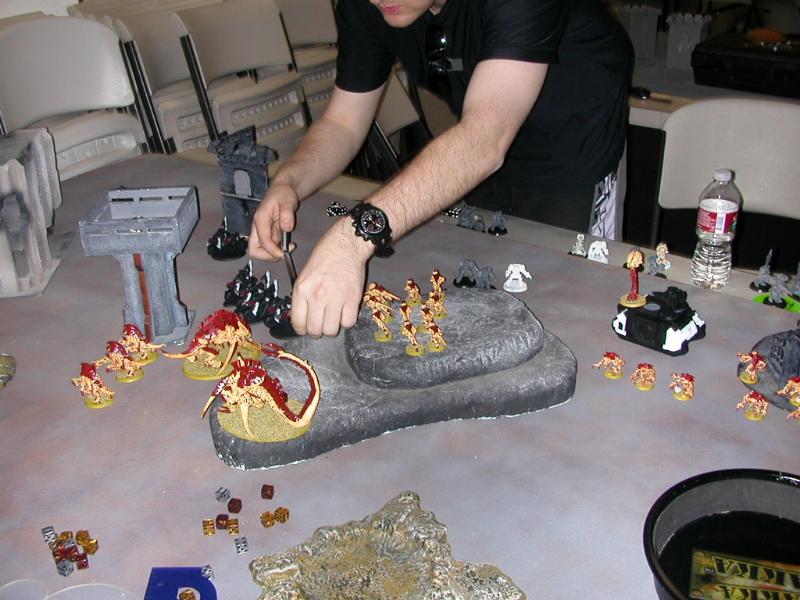
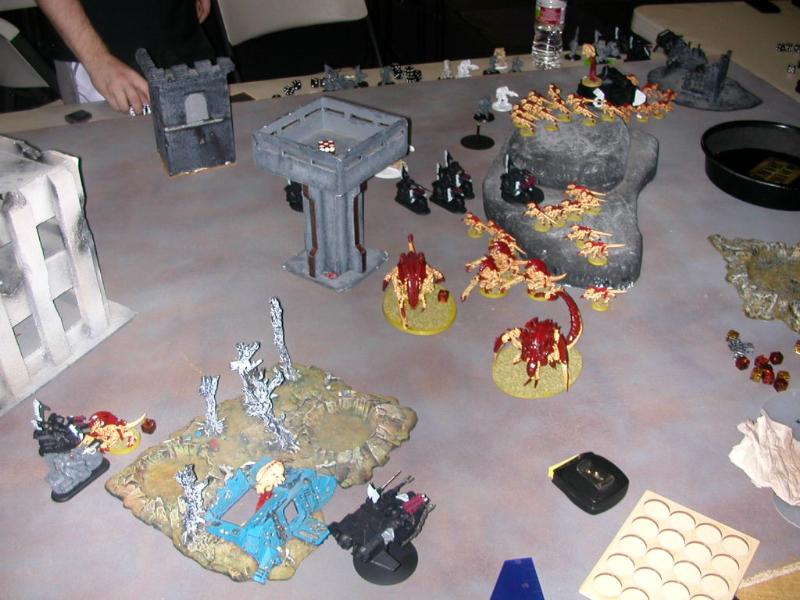
Our board had a couple hills (including one triple-level one large enough to hide Battlewagons, a large multi-story ruin, and some forests. We placed objectives (little shiny blue glass beads) in various spread out locations, including one I put on top of the ruin. Dan won the right to go first, and used it. His deployment:
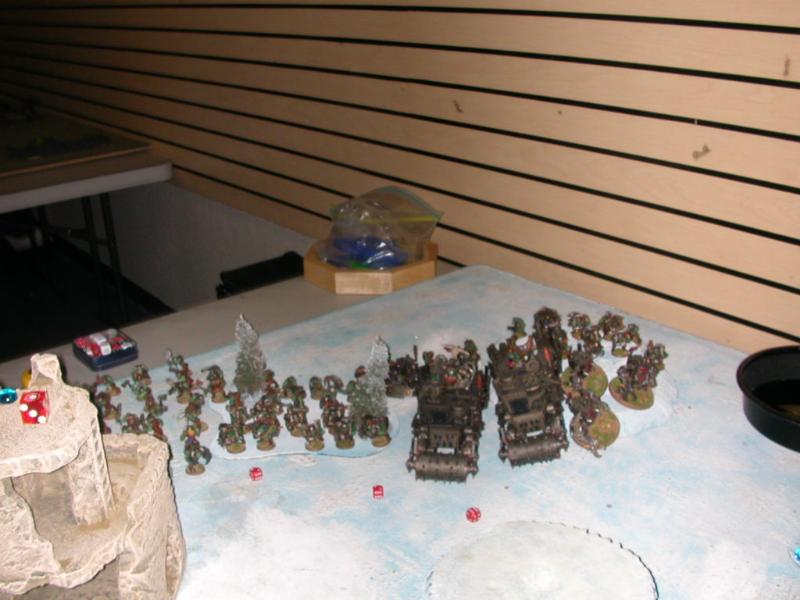
And then mine:
My Ymgarl were taking a nap in the ruin; the little 8-man "stealer squad would Outflank, when then felt like it; and the 16-body "stealer horde used Infiltration to setup a little over 18" from the on-foot Sluggas.
Initial plan: Honestly, didn"t have too much of one. Battles between "Nids and Orks invariably turn bloody quickly, usually on turn 2. My usual strategies seemed appropriate: get FNP going on the "stealer horde, screen off my big bugs with lots of "gants, and hope the Ymgarl & outflankers turned up sooner than later, so as to shut up those lootas. The assault range of battlewagon-equipped orks is a scary thing, though he had limited body count in this scenario. As always, killing his scoring units while preserving some of mine would be nice.
Turn 1: Orks
He moves around, hiding both Battlewagons behind a hill (though exposing their flanks to my Hive Guard). Shooting picked off 4 or so Termagants, and possibly a genestealer or two.
Turn 1: Tyranids
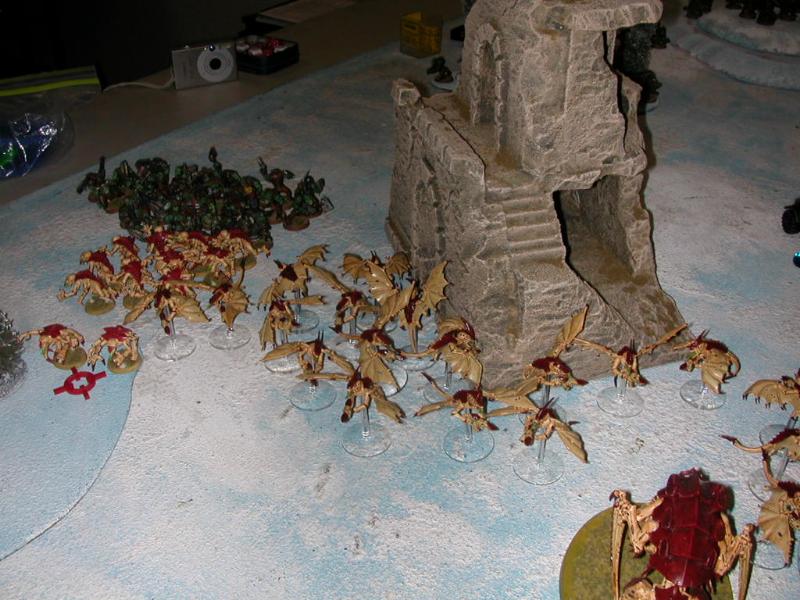
I move forward. Genestealers position out of 12" from the Sluggas, so he"ll at least have to WAAGH if he wants to charge them, and gain FNP from the Tervigon. Shooting is inconsequential.
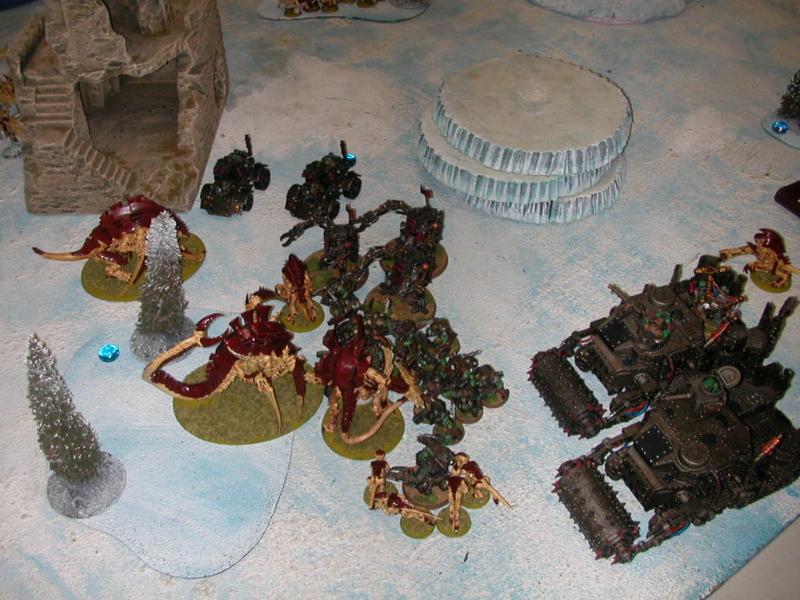
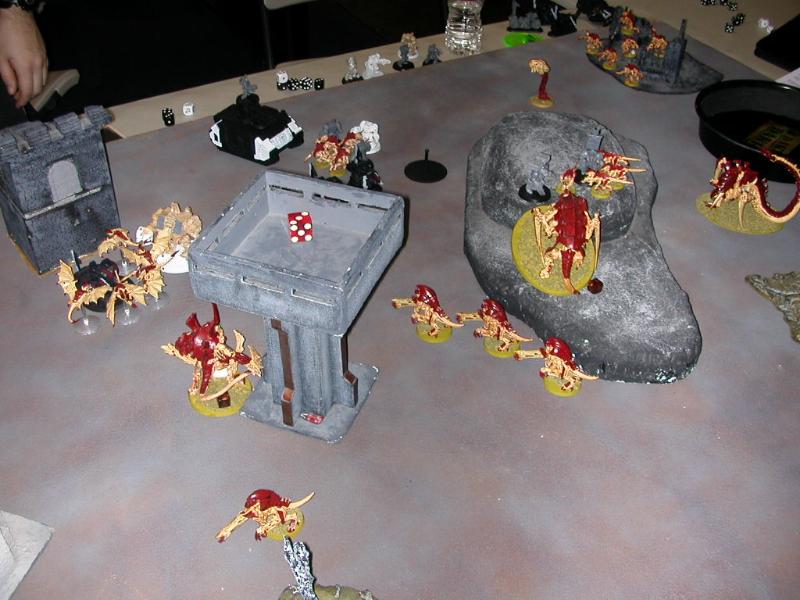
Turn 2: Orks
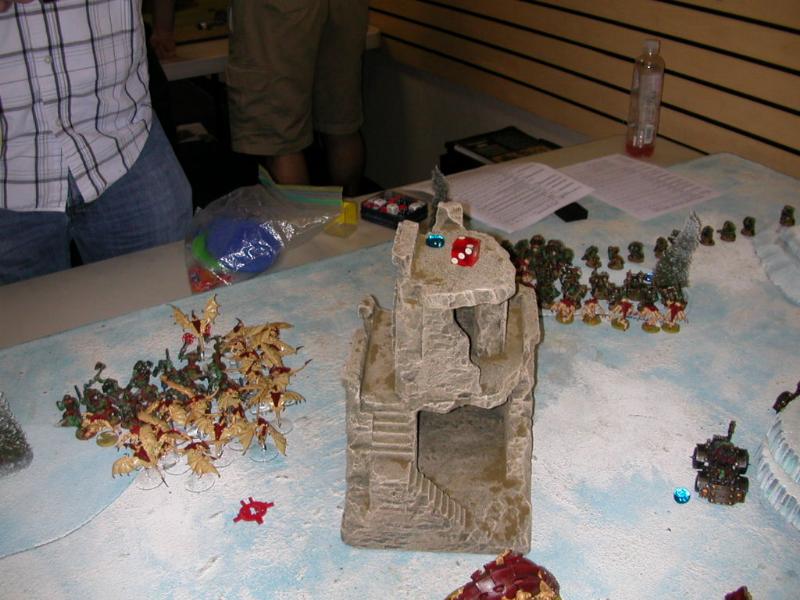
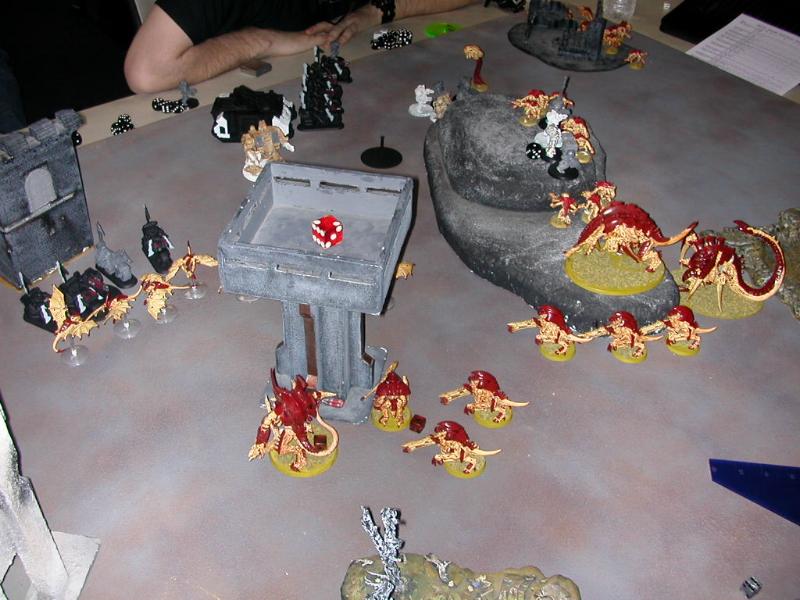
The orks come around the hill, and pile out; the Slugga boyz move forward.
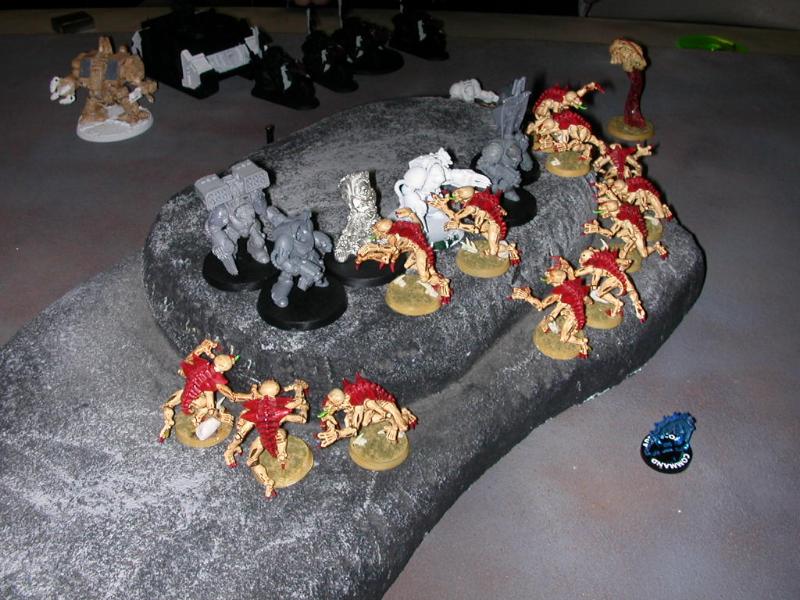
Long-range shooting fails to clear my "gant screen, so Ghaz calls for the WAAAGH, in order to ensure he can charge the Swarmlord, instead of getting stuck on termagants. Meanwhile, the Sluggas jump on my "stealers, 2 of whom are out of combat after consolidation:
Ghaz charges the Swarmlord & Guard, carefully keeping all the MANs away from Swarmy"s Bone Sabres. Ghaz takes 1 wound, 1 MAN takes 1 from the Guard, Swarmy takes 2, the Tyrand Guard dies...and then Swarmy fails his 2 No Retreat saves, leaving him with 1 wound left. Ouch. The "Ard Boyz eat the Termagants and 1 of the two Hive Guard; the other passes a bunch of No Retreat saves, to hold them in place where I can"t shoot them. Grr.

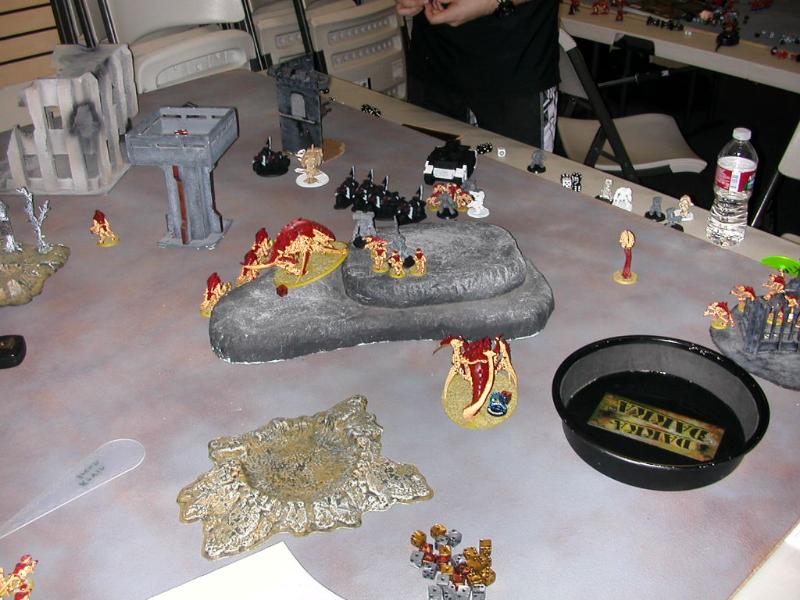
Turn 2: Tyranids
The Gargoyles leap to the defense of the not-so-giant "stealer horde, while the Tervigon makes about 12 new friends (no doubles), and puts FNP on the Gargoyles. The Ymgarl wake up, stretch, and head towards the Lootas & Shoota boyz in the nearby forest. The outflanking Genestealers do NOT arrive. Shooting is ineffective, but for Swarmy giving the Gargoyles Preferred Enemy. Assault involves a lot of activity - the gargoyles charge, as do the (temporarily T5) Ymgarl (hitting both the Lootas and the Shootas).
The Tervigon charges Ghaz, while the termagants chain together the Swarmlord/Ghaz combat and the "Ard Boyz/Hive Guard fight, where the other 3 Hive Guard pile in as well.
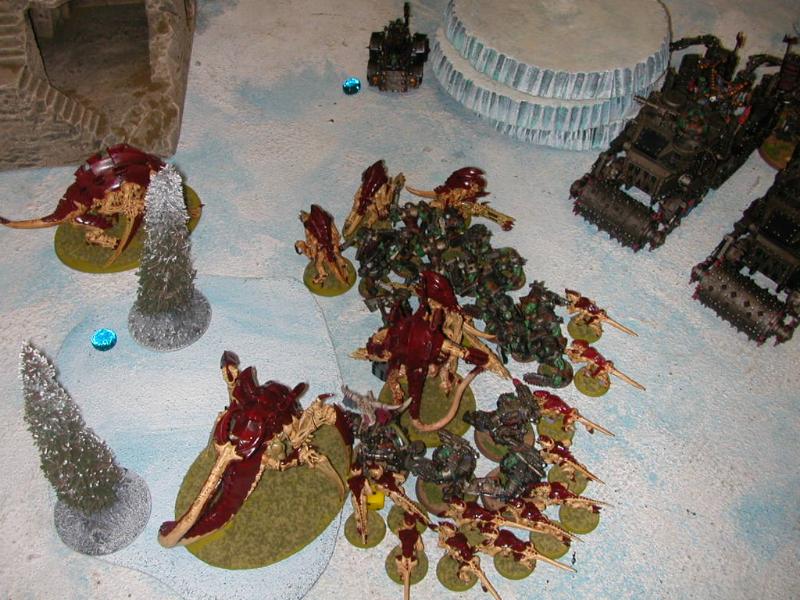
After all is said and done, there are no more Slugga boyz; I still have 2 (scoring) genestealers available, as well as a mess of gargoyles. 1 Loota survives, locked in with 6 or so Ymgarl and 15 or so Shoota boyz. Swarmy instant-kills 2 of the three MANs, and Ghaz hits him three times...and rolls 1-1-1 on the "to wound" rolls. Whew. A lot of whiffing is heard from the "Ard Boyz, as their S3 bounces off the T6 Hive Guard, though they do kill a couple "gants.
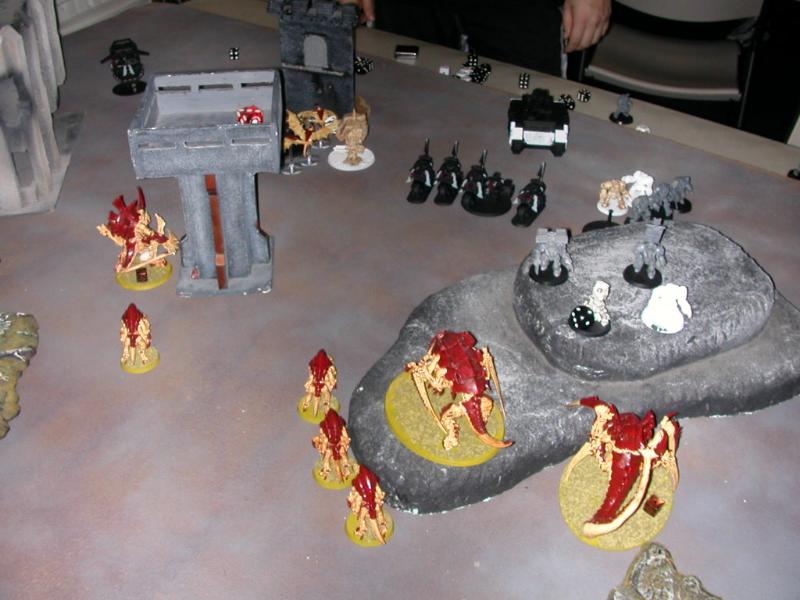
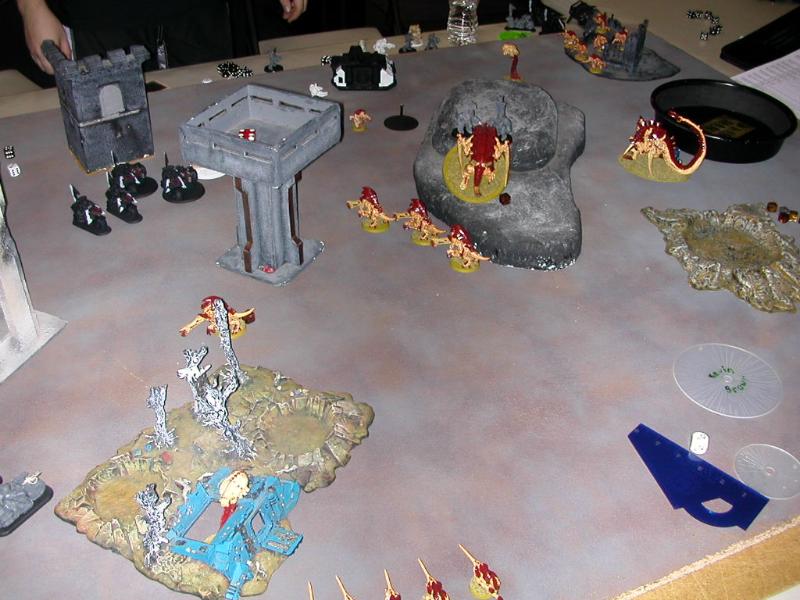
Turn 3: Orks
A little repositioning of the "wagons lets the Kans come to the party, but nothing else of significance occurs; Dan"s pretty fully committed at this point.
In assault, the Ymgarl beat up a lot of Shootas, at the cost of 1 body, and No Retreat drops them to a manageable number.
Meanwhile, the Swarmlord does 2 more wounds to Ghaz, but Ghaz the Eternal Warrior is still standing with 1 wound left...until a Termagant nibbles on his ankle, he fails his 2+, and falls to poison. Muahahaha! The Kanz pile in, though, and beat up some Hive Guard; No Retreat drops me to a single living Hive Guard, 4 "gants, and 1-wound Swarmy standing tall over the battle.
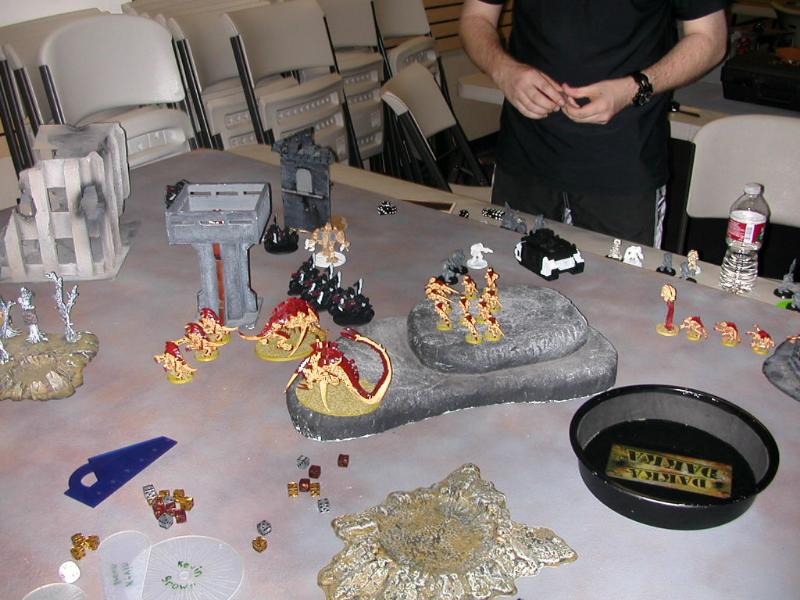
Turn 3: Tyranids
Picture-taking failure here, as I neglect to get a "Before" shot. Movement sees the missing "stealers arrive, right behind the last Loota squad on the hill, and the creation of another 11 or so termigants (no doubles), who gain FNP. Shooting is inconsequential, as the Ruputre Cannon bounces off the KFF. Assault is decisive, though - the last Shootas die, the last Lootas die, and the new Termagants kill off the "Ard Boyz and the last MAN, along with one of the battlewagons (6 to hit, 6 to glance, 6 to wreck it...twice!). At this point, Dan concedes - he has no scoring units left, and I have plenty of opportunity to claim at least one objective (say, the one on top the ruins, where his vehicles can"t touch me).

Victory to the Tyranids.
Reflections: I made a mistake turn 1; while I normally like to resist spawning "gants early in the game, I should have made some on turn 1, and built a better screen for Swarmy & the Hive Guard; had Ghaz done better with his rolling, Swarmy would have fallen early, and it would have been quite a bit harder to defend the flank. As it was, I had enough luck later in the game to make it up.
Honorable Mention: The Ymgarl get the nod for game one, as they ate a Loota squad and Dan"s "safe" scoring unit in just a few round of combat. Orks, lacking the charge, have a hard time fight Ymgarl.
Useless bum(s): The Tyrannofex did absolutely nothing this game.
Round 2: Fight!
I was paired up against a second ork player, who unfortunately was a bit late returning from lunch. We spent 10 minutes or so on what everything in my army did, another moment for him to explain that the Slugga boyz were Shootas, and the Shoota boyz were Lootas (as were the actual Lootas), then moved on to deployment.
Warboss on Bike w/stuff
Wazzdakka w/boots, clothes, and motorcycle
9 diversified Nob bikers
21 or so "Shoota" boyz
Mob o' grots
13 Lootas
13 Lootas
13 Lootas
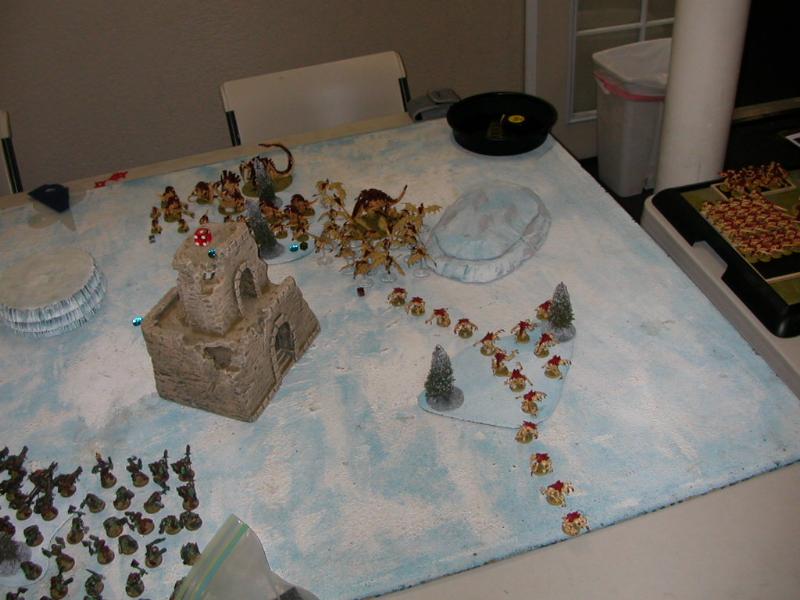
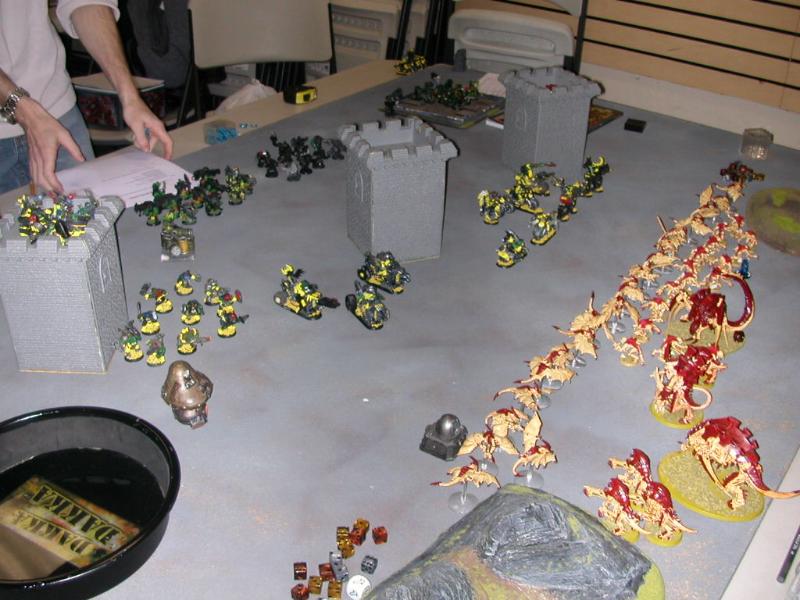
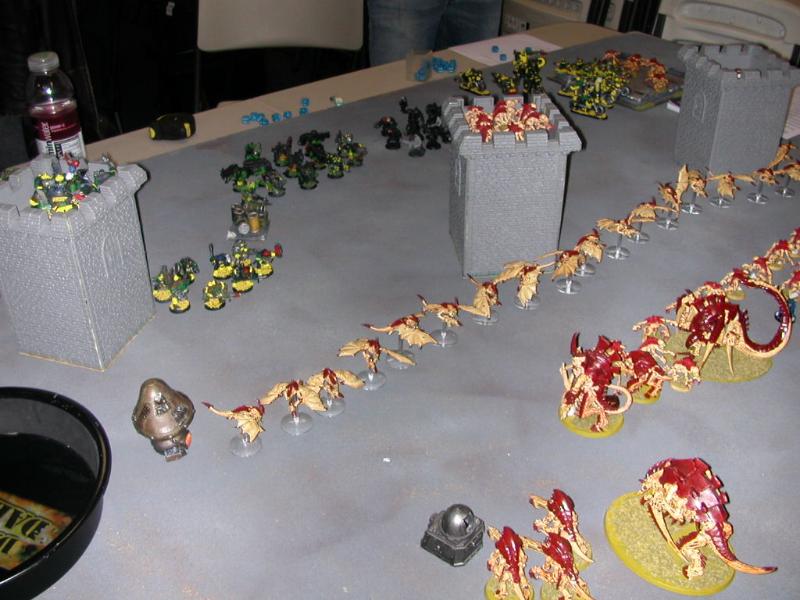
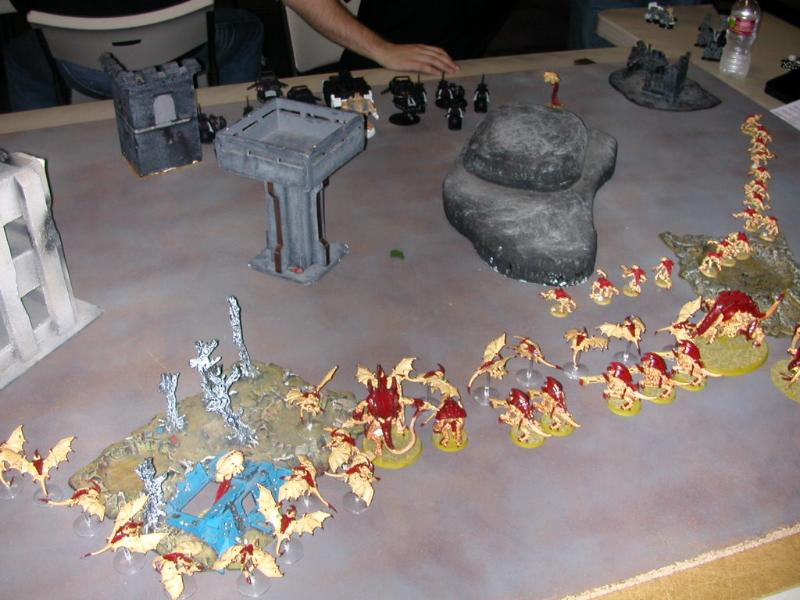
The mission was Dawn of War Annihilation. He took the first turn, and deployed the Warboss & Nobs up near the center line, and the mob of Shoota boyz overflowed out of one of the towers. (Quick note: this table was set up by 2 players who had arrived late for round 1, rather than the TO; odd terrain resulted.)
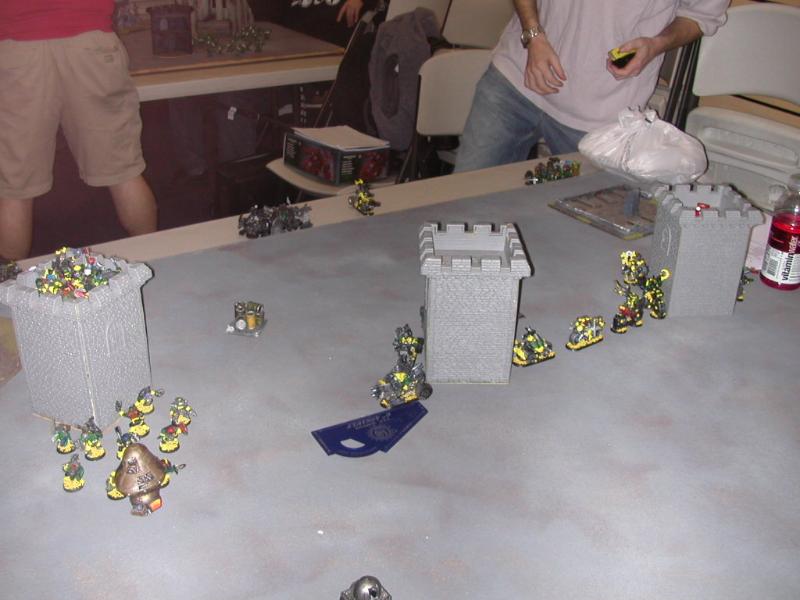
I stayed off the board. The 8-man squad would outflank as usual, and the Ymgarl were sleeping in the central tower.
Initial plan: The Swarmlord would like a piece of those Nobs, if he can get it. Otherwise, Hive Guard would make it painful for him to stay out of combat, and 'stealers could hold them up a bit. The Lootas were the biggest problem on the board.
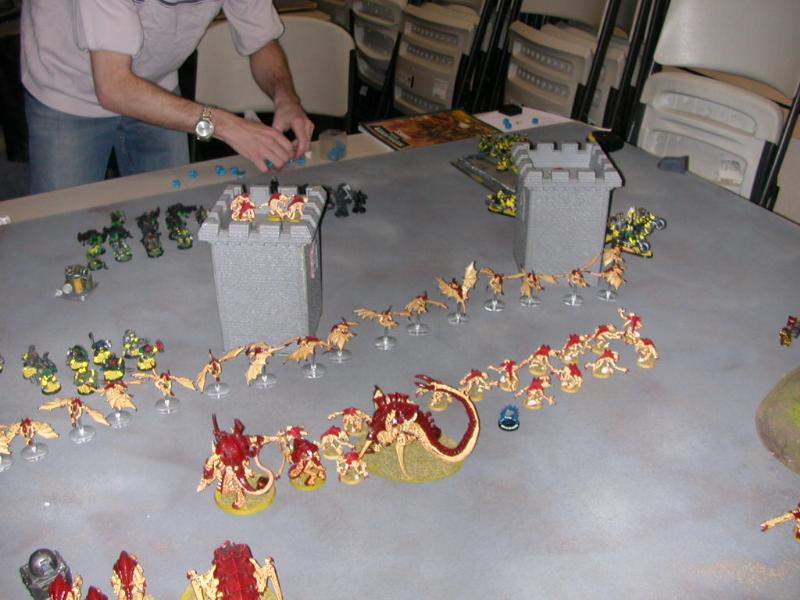
Turn 1: Orks
His stuff walks on the board, and runs forward a bit.
Turn 1: Tyranids
My stuff walks/run on the board, and Hive Guard shooting removes a couple Nobs.
Turn 2: Orks
He spends 15 minutes trying to decide whether to move up and multi-assault the Gargoyles/Genestealers (some of my gaps between gargoyles were a little too wide); eventually, he decides against it, as the Swarmlord would have had counter-assault range to the fight, and that scared him. Shooting hurt the Tervigon a bit, and removed 1 Hive Guard from the 2-man unit; the other went to ground.
Turn 2: Tyranids
I move up some more. The outflankers arrive where I want them to (back-right corner, near the area terrain containing a squad of Lootas and the Grots), and the Ymgarl wake up. Unfortunately, the Ymgarl roll a 1-2-2 on the difficult terrain roll, and are stuck in their tower. Then the roll a 3 for their Run roll, and remain stuck in their tower, instead of assaulting any of the three units nearby. *sigh* The outflanking stealers are similarly incapable of running, which denies me a multicharge into the grots; instead, I am content assaulting the Lootas, who are destroyed at the cost of 2 'stealers.
Turn 3: Orks
He moves up the Bikers, and will eventually assault and kill my Gargoyles.
Shooting drops half the Ymgarl, finishes off the Tervigon, and kills just 1 of the 'stealers in the area terrain. The grots then assault the 'stealers, where they will kill 2 more, before breaking and dying. (Some small discussion here, as my opponent mistakenly believes that the Squighound makes the grots auto-pass their leadership test, instead of just alowing a reroll. Eventually, he looks it up, and is unpleasantly surprised.)
By this time, we have less than 20 minutes left of the 2 hour round.
Turn 3: Tyranids
The three surviving outflankers hop out of the area terrain, and head towards a second squad of Lootas. The Ymgarl stumble out of their tower (4" move, 3" of which is used getting to the ground), while the Swarmlord moves up on the squad of Shoota boyz. Paroxysm goes off on the Shootas, and the Ymgarl fluff their Run move (1"), so they"ll be joining Swarmy on the Shootas, instead of assaulting Lootas. The Swarmlord/Ymgarl pairing beat up Shootas; No Retreat drops them to some very small-ish number. The 3 Poisonous Outflankers lose one more model, but kill 5 or 6 Lootas in the process; they then chase down the survivors. Meanwhile, the large "stealer horde gains Furious Charge from Swarmy, and runs off to assault Nobs on Bicycles, putting their S5 poison to use, and inflicting 6 wounds; they win combat, but the Boss Pole keeps the Nobs from running off.
Turn 4: Orks
15 minutes is called about now.
After much hemming and hawing over his single unit capable of movement, the Lootas decide to chase down the last 2 Outflanking stealers. They assault...and a single stealer survives, winning combat by 2, and killing an extra Loota in the process! Meanwhile, Swarmy & the Ymgarl finish off the Shoota boyz.
Unfortunately, the Nob Biker mess is not quite a cheerful for me, as the 'stealers inflict a single wound (lots of successful Cybork saves here), and break from combat (out of swarmy"s synapse range). Time runs out here (well, 5 minutes ago).
I"ve killed:
2 Loota squads
1 Grot mob
1 Shoota mob
He"s killed:
1 Genestealer brood
1 gargoyle brood
1 Tervigon
Victory to the Tyranids!
Reflections:
Couple really bad moves on my part here. Swarmy should have been centered, and everything should have stayed within about 7" of him. I always underestimate Nob Bikers; they are hard for 'stealers to inflict significant damage on, at least until the Pain Boy goes away. Frankly, I should probably have just Reserved everything, and outflanked both units of 'stealers. Sadly, I don"t think the game would have gone any faster had I done so. As it was, my Reserved termagants only just made it onto the field, instead of becoming an auto-KP.
Honorable Mention: The outflanking 'stealers were awesome in this game, as they killed 3 KPs, and avoided dying in the process. Great work there.
Useless bum(s): The Tervigon. While he did toss FNP on the 'stealers as usual, they were never a target of shooting; instead, he just got himself killed.
Round 3: Double your pleasure, double your fun
Round 3, by default, was Pitched Battle - Capture & Control. I found myself paired with JP, who was running a DA Doublewing. JP was a great guy, and I really enjoyed our game. I did wish that his army was a little more finished, and I look forward to seeing it again someday, with arms attached.
His list, completely from memory (as I never saw a written copy):
Belial
Sammael in a Land Speeder
Venerable Dreadnought w/Assault Cannon and many boring stories about the good old days
5 Deathwing termies (TH/SS all around, plus a Cyclone, a Banner, and an Apothecary) - these were Belial"s homies.
5 Deathwing termies (TH/SS, plus a Cyclone)
3 Bikes (2 Melta, an apothecary, a banner, and a power weapon sergeant)
3 Bikes (2 Melta, PW sergeant) plus a multimelta attack bike
3 Bikes (2 Melta, PW sergeant) plus a multimelta attack bike
Landspeeder Typhoon (Assault Cannon/Cyclone missiles) as fast attack
Landspeeder Typhoon (Assault Cannon/Cyclone missiles) also as fast attack
Cheap Predator (Autocannon turret)
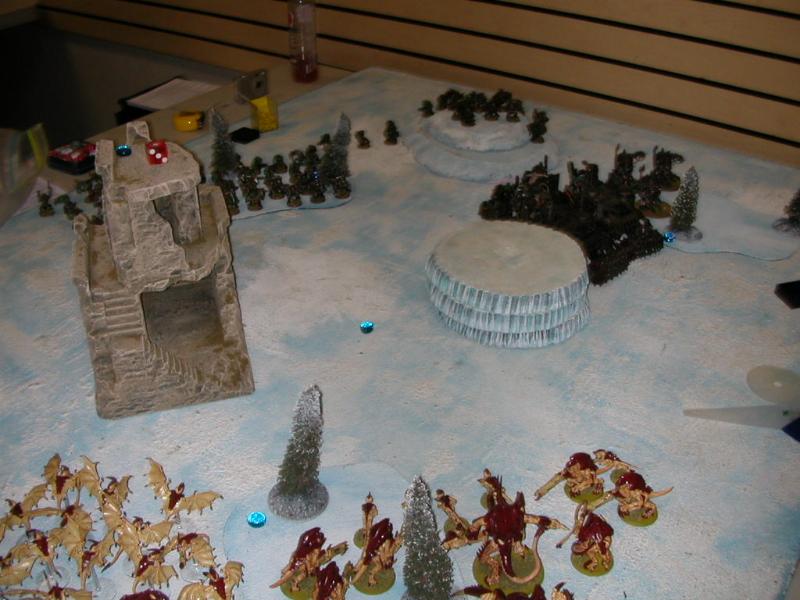
After some discussion of Tyranids and their nasty, nasty ways, we rolled for deployment; I won first turn, but gave it away. He held out both Deathwing squads for Deathwing Assault, and the small bike squad would outflank. His objective was out in the open; mine went into terrain (we"re using a couple of my Forgeworld Meiotic Spores).
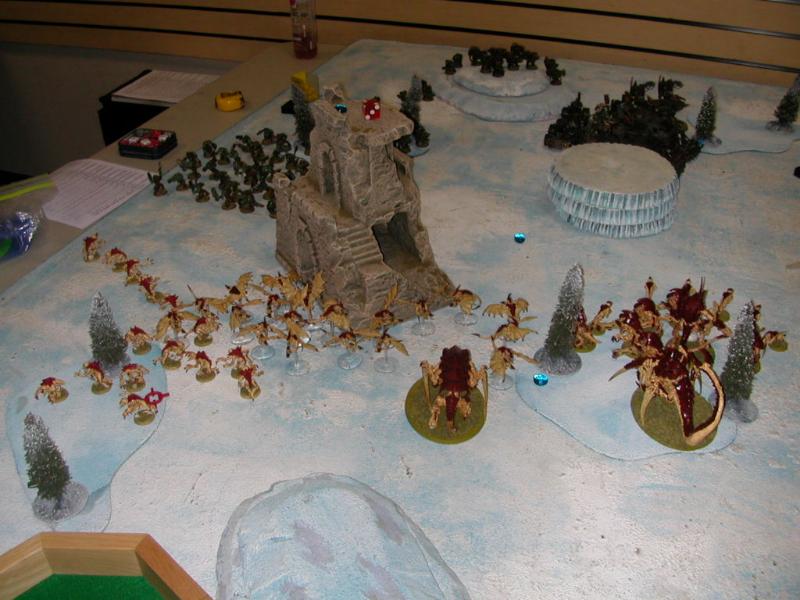
His deployment was very central:
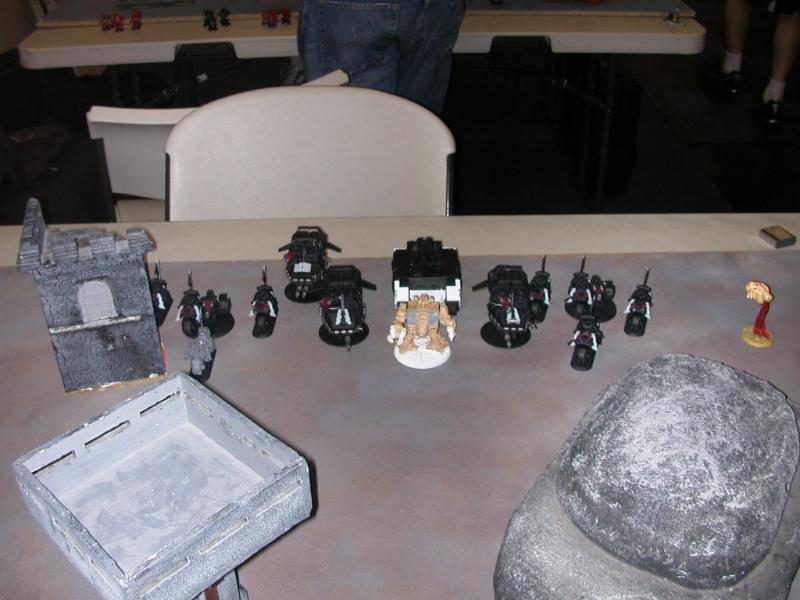
Mine was typically sprawling, with the small stealer squad outflanking, the Termagants in Reserve for a later-turn objective grab, and the Ymgarl sleeping in that central ruin in his deployment zone. (You can see my objective peeking out of the wrecked rhino terrain.)
Initial plan:
Capture and Control is an interesting one for this list, as I have relatively little synapse to keep smaller bugs hanging around. I planned on keeping the Swarmlord fairly central, with the Hive Guard and T-fex, to hopefully play goal-tender and keep his few Troops away from my objective; both units of genestealers and the Tervigon would move in the general direction of his.
Turn 1: DA
Belial and his homies arrive off a beacon in his deployment zone, and some shuffling occurs. He dumps every krak missile available at the Swarmlord and friend, and gets a few wounds through the cover save.
Turn 1: Tyranids
The bugs swarm forward. The large stealer brood gains Catalyst from the Tervigon. Hive Guard destroy one landspeeder, and shake the other; Mr. T-fex shakes the dreadnought.
Turn 2: DA
The other squad of Deathwing arrive, also off a beacon in his deployment zone; obviously, the Terminators aren"t going to be making a play for my objective. His outflankers show up as well, over on my left board edge; they just edge on, and don"t do anything. Bikes flitter around, while Sammael moves off to my flank a bit. The Gargoyles eat a LOT of fire, from angles that deny me cover saves (some bad casualty-removal choices on my part here aid his efforts), and only about 8 gargoyles survive. Belial and his friends ponder their options, and eventually decides to assault the FNP genestealers.
Belial is fairly successful, and his saves are pretty solid - 2 "normal" Terminators fall, and Belial takes a wound, but I lose half-a-dozen genestealers or so.
Turn 2: Tyranids
The Ymgarl keep on napping, but the outflankers show up where I want them. The Termagants stay off the board. I bring the gargoyles up to assault a Paroxysm"d Ravenwing unit, but Leech Essence fails to restore any of Swarmy"s missing wounds. The Tervigon tries to FNP the genestealers again, but injures itself instead. Long-range T-fex fire shakes Sammael. Combat kills all the normal bikes, leaving the Assault bike locked with 6 or so gargoyles; Belial looses nothing, and drops me to 4 Genestealers.
Turn 3: DA
Sammael moves flat out around to my left, where that ouflanking Ravenwing squad is hanging out behind a large ruin. The Dreadnought comes over to beat up Gargoyles. His untouched Deathwing squad moves further away from my 8 outflanking genestealers. Shooting kills off the Tyrant Guard, leaves Swarmy with 1 wound, and drops a single Hive Guard; my model count advantage is dissipating quickly.
Turn 3: Tyranids
So, obviously, we add more models. The Reserved Termagants show up, and move on near my objective (where I will forget to Run them). The Tervigon makes some new friends, who move up to engage Belial; the T-fex moves to support them. The Ymgarl wake up in their ruin, and head for the Terminators standing nearest the objective; they"ll have a choice of targets, depending on their Run roll. Hive Guard fire drops the second landspeeder. Swarmy, in a bad spot, tries to make the best of it - he comes around the corner, tosses Paroxysm and Leech Essence at the Ravenwing squad in front of him, rolls 3 hits...and fails to wound any of them. It"s sad.
In Assault, the Ymgarl go for the Deathwing squad*, while Termagants & the T-fex jump on Belial and company. The Ymgarl lose 4 of their number, but kill 3 Terminators in the process. After the smoke clears, the Apothecary and the Cyclone terminator survive; Belial and his Banner-toting friend have left the party. I do run out of Genestealers, though.
*In retrospect, I"m not sure if this was the best choice. On the one hand, the Ravenwing were Paroxysm"d; the Ymgarl could probably have killed them all on the charge. On the other hand, the Deathwing were a scarier scoring unit - I still had that outflanking squad lurking within assault range of his objective, and I knew they could take the Ravenwing, but killing a whole Deathwing squad with them in a single phase would be pretty hard.
Turn 4: DA
The outflanking Ravenwing move up now, as does Sammael; the biker shooting will put a single wound on the lonely Hive Guard, but Sammael will kill half the Termagants, and send them fleeing for the board edge. More bike fire drops the Swarmlord.
In combat, I run out of Termagants, but the T-fex hangs on pretty well - he"s only taken 2 wounds. The Ymgarl however, lose 3 models, do not wounds, and the survivor starts fleeing.
Turn 4: Tyranids
Some Synapse issues here, in that I just lost Swarmy"s 18" bubble. So the Tervigon kicks off Dominion at the start of the turn. The single Hive Guard, out of Dominion range, passes his Instinctive Behavior test; the fleeing Termagants, however, run off the board. The Synapse support does rally the last Ymgarl, which is nice.
The Tervigon makes yet more termagants, while lumbering in the direction of my objective, and the solo Hive Guard moves towards the outflanking Ravenwing, who are inside 12"; I have a plan. My outflanking stealers finally bestir themselves, sending a few members towards the objective. The T-fex moves to be in the way of any last-minute Ravenwing sprints towards my objective from the central biker units. Shooting from Hive Guard kills the banner-bearer from the outflanking bikers.
Assault finishes off Belial"s unit, and the single Ymgarl, who threw himself bravely at a full Ravenwing squad, is cut down by the sergeant"s power weapon without doing any damage. But the solo Hive Guard locks down the outflanking bikers just fine.
Turn 5: DA
The Predator tank shocks my genestealers off the objective...and their roll boxcars on their leadership test, falling back 5" towards my board edge. Grumble. His Deathwing move towards his own objective, but even running can"t get them their. Unfortunately for him, he moves them first - they end up preventing the Ravenwing bikers from turbo"ing over their, as the crater from the dead landspeeder combines with his own models to deny him a path. Otherwise, he moves Sammael up near my objective, and tries to dump enough fire into the Tervigon to kill it; he fails. His bikers, meanwhile, are having a really hard time with the WS4, T6 Hive Guard; no one is dying.
Turn 5: Tyranids
Dominion goes off again, rallying the fleeing stealers. The Tervigon makes more Termagants, and blocks off the Ravenwing a bit more. The T-fex turns around and immobilizes Sammael with a penetrating hit from the Rupture cannon. As time makes it clear we"ll not be playing any further turns, we skip ahead to the important stuff - 2 of my 3 Hive Guard have range to the Predator, and fire on it - 3 hits, 2 pens, 1 wrecked result. The newly-regrouped Genestealers Run up to the wreck. His Ravenwing fail to kill my Hive Guard, which denies him a chance to Massacre over to my objective, and the game ends.
Victory to the Tyranids
Reflections: I need to give the Deathwing more respect - they are very solid troops, and hard to kill. I also need to be a little more careful in my movement and casualty removal - I lost 8 or so Gargoyles without cover saves, and that hurt. But a very solid game by JP.
Honorable Mention: The outflanking stealers won the game for me, and that lonely single-wound Hive Guard locked down the outflanking Ravenwing to prevent them from scoring, but MVP goes to the Tervigon - waves of termagants finished off Belial, and Dominion kept me in the game.
Useless Bum(s): Couple options here - the Swarmlord died fairly quickly, the large stealer brood only did 3 wounds to Belial and friends, but the "winner" is the Reserved Termagant squad. They walked on, forgot to run into cover OR synapse range, got shot up, and ran right back off.
At the end of the day, I was the only player with a 3-0 record, saving us from the paint-based tie-breaker that would have had to decide between three 2-0-1 records otherwise.
5 comments:
Boooooo. Down with the Bugs.
Actually, I like how shiny your armor is. It makes it seem like the bone structure is harder.
Heh. Thanks, thought the lighting definitely brought out the shine.
The final coat is a "magic wash" - it's about 45/45/10 water/future floor wax/pigment (in this case, a brown ink). Flows nicely, darkens the skin, and gives me a lovely protective wax coat to inhibit chipping. :)
I do miss Thursday night 40k sessions. Necrons, Tau, Space Marines, those annoyingly unkillable-because-of-super-cover-save hidey Eldar with the sniper rifles, cheatery Chaos Marines with their unstoppable Siren spell. Ahhhh, brings back memories. Angry, vengeful memories.
This is Tim, owner of the orks, and I have to say that you are byfar one of the better tactical players I have faced at tournaments in the area. It was great to see you take down the tourney as I always like seeing the person who beat me win it all :) I really hope I get another chance to play and learn from you some more.
Yeah, Kevin is a Warhammer tactics-master, there's no doubt about that. My skills with my Imperial Guard increased by like 400% after my first few games with him. Plus Kevin's not a jerk about obliterating you either, and will kindly and patiently explain why you shouldn't take Ratlings to a fistfight.
Post a Comment