

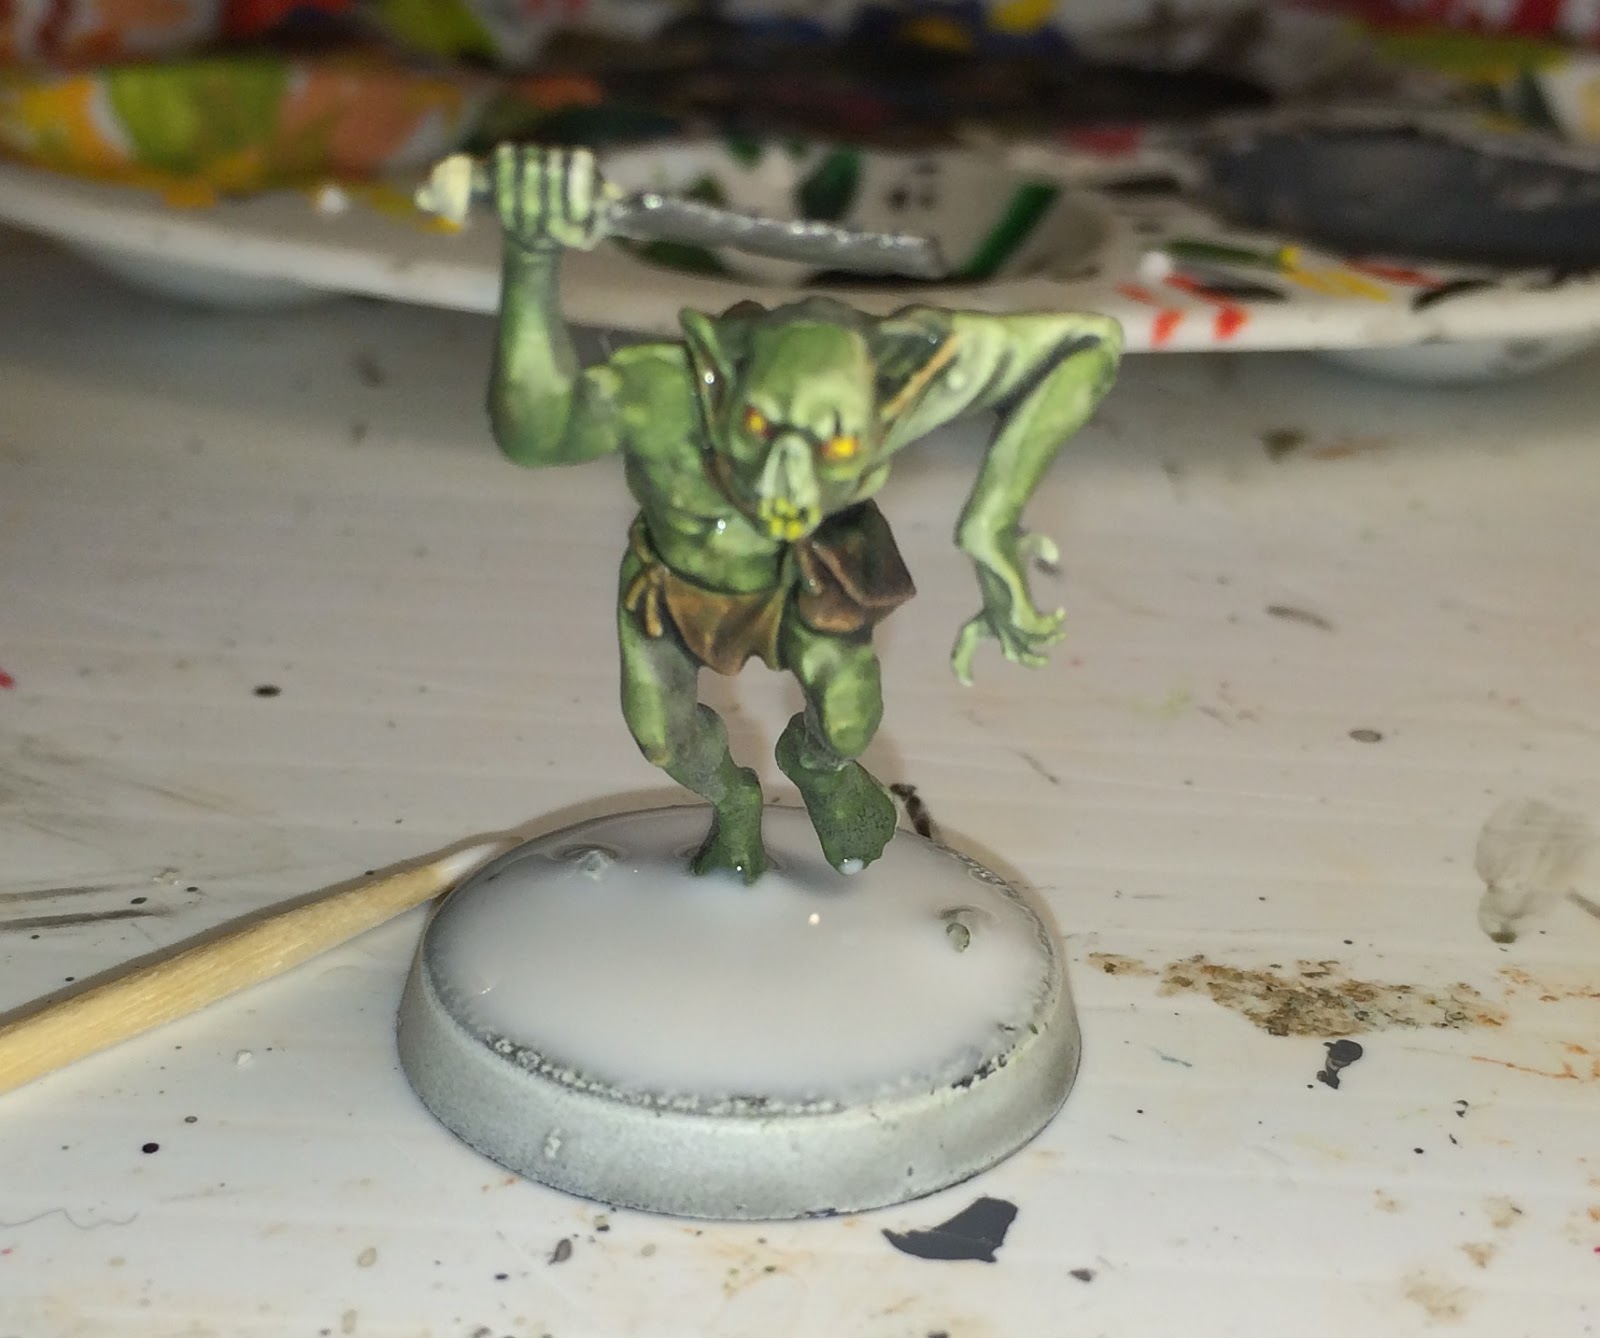
So as outlined in the last post about painting hordes of minis by the dipping technique, we've now got a horde of goblins painted. Problem is, their bases look bare and boring.

Its time to base 'em!
As outlined in the Encyclopedia Britannica, goblins live in caves. Therefore some rocky terrain is what's called for here. First things first, you'll need a big ol' bottle of Elmer's glue and something to represent rocks on the base. I like to take three different grains of sand and mix them together in a ziploc bag. 3 parts fine grain, 2 parts medium grain, and 1 part large grain sand and you've got yourself basing materials for 90% of your projects.
 |
| (Don't worry too much about the fine/medium/large grain mixing ratios I listed above. Its all just sand anyway, it'll basically look fine no matter what.) |
First, just put a couple dollops of glue on the base, on either side of the mini.

Then use a toothpick to spread it around. Did I mention you need a toothpick above? Um, you need a toothpick. Well, you don't specifically need a toothpick. Just something to smoosh glue around the base into an even layer.

Now take the guy and dip his glue-covered base into your bag of sand and rocks.


Pull him out, shake off the excess rocks that didn't stick to the glue, and let him dry for an hour or so (do a bunch of guys at once so you can overlap all their drying times).
 |
| Now its time to paint! |
Once dry you've got to paint the sand and rocks so that they, well, look like sand and rocks. Okay, I know that doesn't make a lot of sense when I say it, but bear with me.
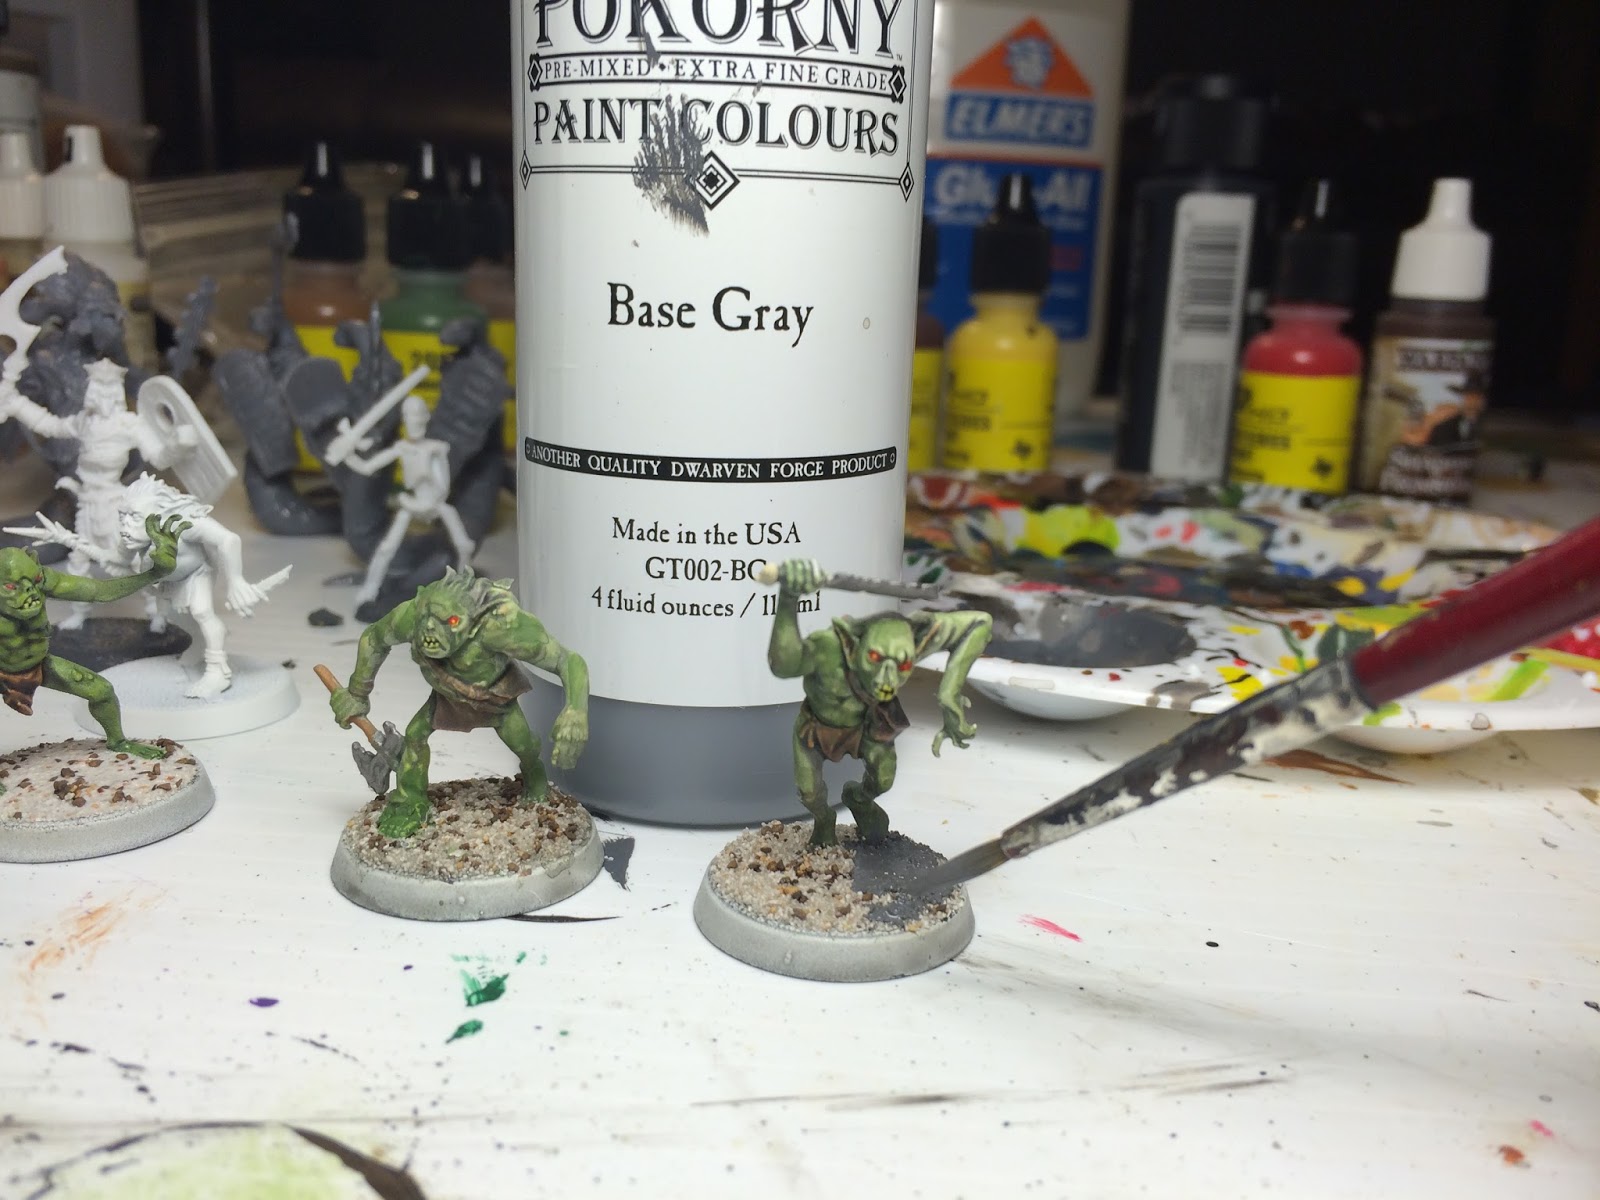
You'll need five colors of paint. Gray, Olive green, Greenish-brown, White, and Black. I bought the big bottles of each from "Porkony Paints," as I needed them to paint a boatload of Dwarven Forge terrain after their first Dwarvenite Kickstarter. But any Gray, Olive, Greenish-brown, White and Black paint will do.
Coat all the rocks on the entire base in Gray. Get real sloppy with it, because you want the gray paint to get between all the open rocks on the base, so they're completely covered when you're done.

You'll have to wait another half hour or so to let all that paint dry. Once it is dry the last few steps can be done one right-after-the-other.
Next step is to give the drab gray base a quick heavy drybrush of the olive green. This gives the rocky base a bit more definition. You can go even heavier with the olive than I did below too if you want. It helps break up the gray.


Next take the Earth-tone greenish-brown and color any of the larger rocks, or spaces that look a bit different than the rest of the base. Or you can just do little random bits around the base. You're just making the impression that there's a couple color of rocks on the base.
 |
| Yeah, its pretty subtle effect, but I think helps in the end. |

Now we need to do something with the outer edge of the base. One option is to color it with the same base gray, which I think would look fine. However I'm a traditionalist when it comes to wargaming, and I always make my base outer edges black. I think it allows the mini to look better on multiple types of table terrain, whereas painting them gray all the way around will only look good on stone flooring. But to each their own, I certainly wouldn't fault someone for painting them gray. Would be easier to make clean lines all the way around the base, that's for sure.


BONUS MOVE - grass bits
Okay, so you've got thirty-six stone-based goblins, and you could be done! But maybe looking at them altogether you're thinking their bases are a little boring. Maybe you want to break up the rocky stone a little bit. Well, an option is to add a tiny bit of grass on half or so of the minis, so when they're all together it differentiates them a little more. If so, you'll need some static grass. For rocky terrain I use yellowish grass. For regular forest terrain I use green grass.
First, put a small drop of glue on the mini's base on an open space somewhere.


Okay, now similarly to the rock-step, we just place him into a container of static grass and sprinkle the grass over the glue-spot.


Now lift him up and shake the excess grass off him and let him dry. Do this to half or so of your horde of minis and it'll help break up the monotony of this basic basing method a bit.
 |
| Gob on the left doesn't have any grass, and guy on right has two clumps of grass. Endless variety! |
Now these guys are finally ready to get on the table and bash some pesky heroes' skulls in!

Happy painting and game on!
No comments:
Post a Comment